Aeropress Brewing Instructions
By Tyler Workman

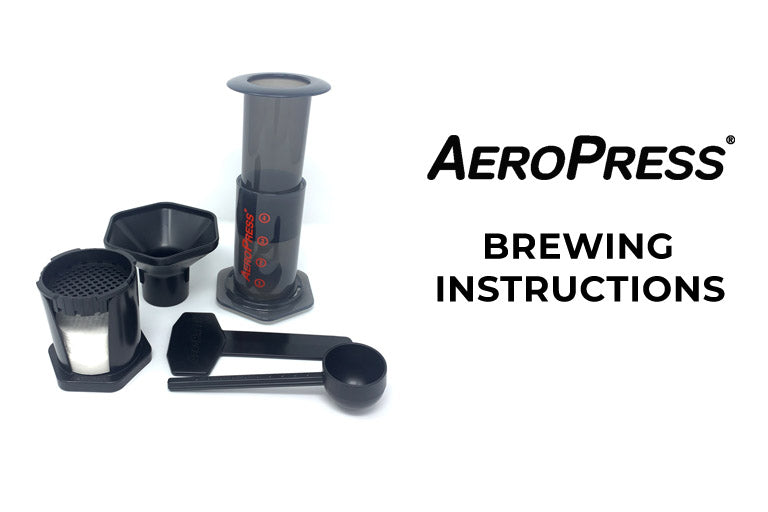
KAHA Coffee Roasters is proud to announce the arrival of the Aeropress® Coffee Maker to our lineup of products available for purchase!
Since its debut in 2005, the Aeropress has gained a cult like following in the coffee industry for its unique method of combining aspects of pressure brewing, full emersion brewing, and paper filter brew methods.
The Aeropress is adored in the coffee industry for its extreme versatility and relatively low learning curve. The Aeropress was developed to produce a rich, non-bitter cup of coffee, and can be used with a relatively fine grind and short brew time for fast extraction, and can also be used with a relatively coarse grind and a longer brew time similar to a full emersion brew method. The Aeropress is one of our favorites because we've found that we can get subtle notes from coffees which are not otherwise achievable in other home brewing methods.
Below is an instructional video as well as step by step instructions with graphics to help you get started brewing with the Aeropress®. We will be making our own brewing videos soon.
HOT AND COLD BREWING WITH THE AEROPRESS
Step 1

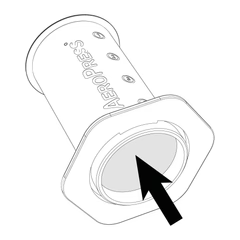
Push plunger out of chamber.
Step 2

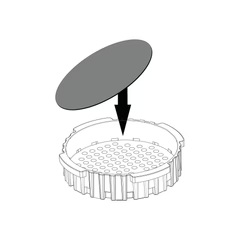
Put filter in filter cap.

Step 3
Twist filter cap onto chamber.

Step 4
Stand chamber on sturdy mug and put one rounded scoop of fine drip grind coffee in chamber.

Step 5
Shake to level coffee.

Step 6
Add water up to Level 1 on the chamber. 175°F (80°C) water for hot brewing or tap water for cold brew.

Step 7
Stir about 10 seconds for hot brewing or 1 minute for cold brew.

Step 8
Insert plunger and press gently, pausing when you feel resistance, until plunger reaches grounds.

Step 9
Remove filter cap, push plunger to eject used coffee and rinse seal.
Step 10
-
Espresso style:
- Drink as is.
-
American coffee:
- Add water to fill an 8 oz. (237 ml) mug.
-
Latte:
- Add milk to make an 8 oz. (237 ml) latte.
-
Cold brew:
- Add tap or ice water to make an 8 oz. (237 ml) mug of cold brew.


0 comments